Cream & Butter

Freshly wrapped home-made butter
It is inevitable that sooner or later house cow keepers will have a generous surplus of milk, and home-made butter is a quick, easy and delicious way to use it up.
Like trying any new recipe, the first few batches seem daunting but practice makes perfect and soon, without a second thought, any surplus milk will be set aside to be separated into cream for butter making.
As with any dairy processing, all utensils and equipment must be squeaky clean and, for making butter, always start by scalding everything using very hot water immediately prior to use.
SEPARATING CREAM
There are two options for separating the cream from fresh milk. On a small-scale, the traditional method is easiest. Pour the fresh milk into an appropriately sized shallow container and allow to chill overnight. A glass Pyrex roasting tray that fits in the fridge is ideal. As the cream chills it will naturally separate and a shallow layer of cream across a wide area is much easier to skim off using a large metal spoon, than a deep layer in a jug.
Keep the cream in glass as plastic containers tend to be difficult to clean and sterilise. Mason jars are a good choice as they fit in most fridges and small quantities of butter can be made directly in the Mason jar, making life even simpler with almost no washing up.
Depending on how much butter is to be churned, cream can be added to the jar over two or three days. Cream can also be frozen and then defrosted to make butter.

Separating cream using an electric cream separator.
For larger quantities of milk, an electric or hand-crank centrifugal cream separator will do a perfect job in minutes, but then take 20 minutes to take apart and wash up!
MAKING BUTTER
The day before butter making, prepare by putting enough water to rinse the butter in the fridge to chill. The volume of cold water needed will be around four times the volume of cream to be churned. Ideally boil the water before allowing to cool and chill so that it too is sterile.
Always use cream that is at least 24 hours old, ideally two or three days old. Cream needs to ripen a little otherwise it will take considerably more churning to be made into butter. Cream needs to be around 16C for the fastest churning times, so take the cream out of the fridge in enough time for it to come up to temperature.
If making very small quantities in a Mason jar, only half to two-thirds fill the jar so there is plenty of room for the cream to flop around inside. Hold the jar firmly, making sure the lid is tightly screwed on, and rhythmically shake the jar to thwack the cream against the sides. Although a fast, vigorous shake is great fun if there are children involved, a steady rhythmical thwack, approximately two thrusts per second, like playing the maracas, will give the best results.
For slightly larger quantities an electric or hand-crank butter churn applies the exact same process with the wooden or metal paddles doing the thwacking.

Beaten cream starting to break into butter grains
Carefully observing and explaining the physical changes also makes a great science lesson for children. The globules of fat in the cream are held within a triple layer phospholipid membrane. The membrane is surprisingly tough and the physical action of agitating the cream first weakens and eventually breaks the membrane.

Fully formed grains of butter
As the membranes break the fat within the globules starts to stick together and to the fats in the adjacent globules. The sound in the jar or butter churn will go from a heavy thud of the cream, to a watery splosh as the grains of butter start to form and separate from the buttermilk.

Once the initial grains of butter start to form, go steady with the Mason jar juggle, and even steadier in an electric churn, and watch carefully as the grains turn more obviously yellow and more solid, and the buttermilk is clearly separated out. If over-churned at this point the butter can be beaten back into the buttermilk.
From starting to churn the cream to the membranes breaking and the fat forming into butter grains can take anything from 5 to 20 minutes.
Strain off the buttermilk through a sieve, trying to keep the grains of butter loose and not packed together. This will make it easier to wash them.
Put the butter grains in to bowl and carefully rinse with enough ice cold water to cover them. Strain off that water and rinse again. Rinse at least four times, until the water is clean when straining it off. This stage is important for the longevity and flavour of the butter because any remaining buttermilk will cause the butter to go rancid.
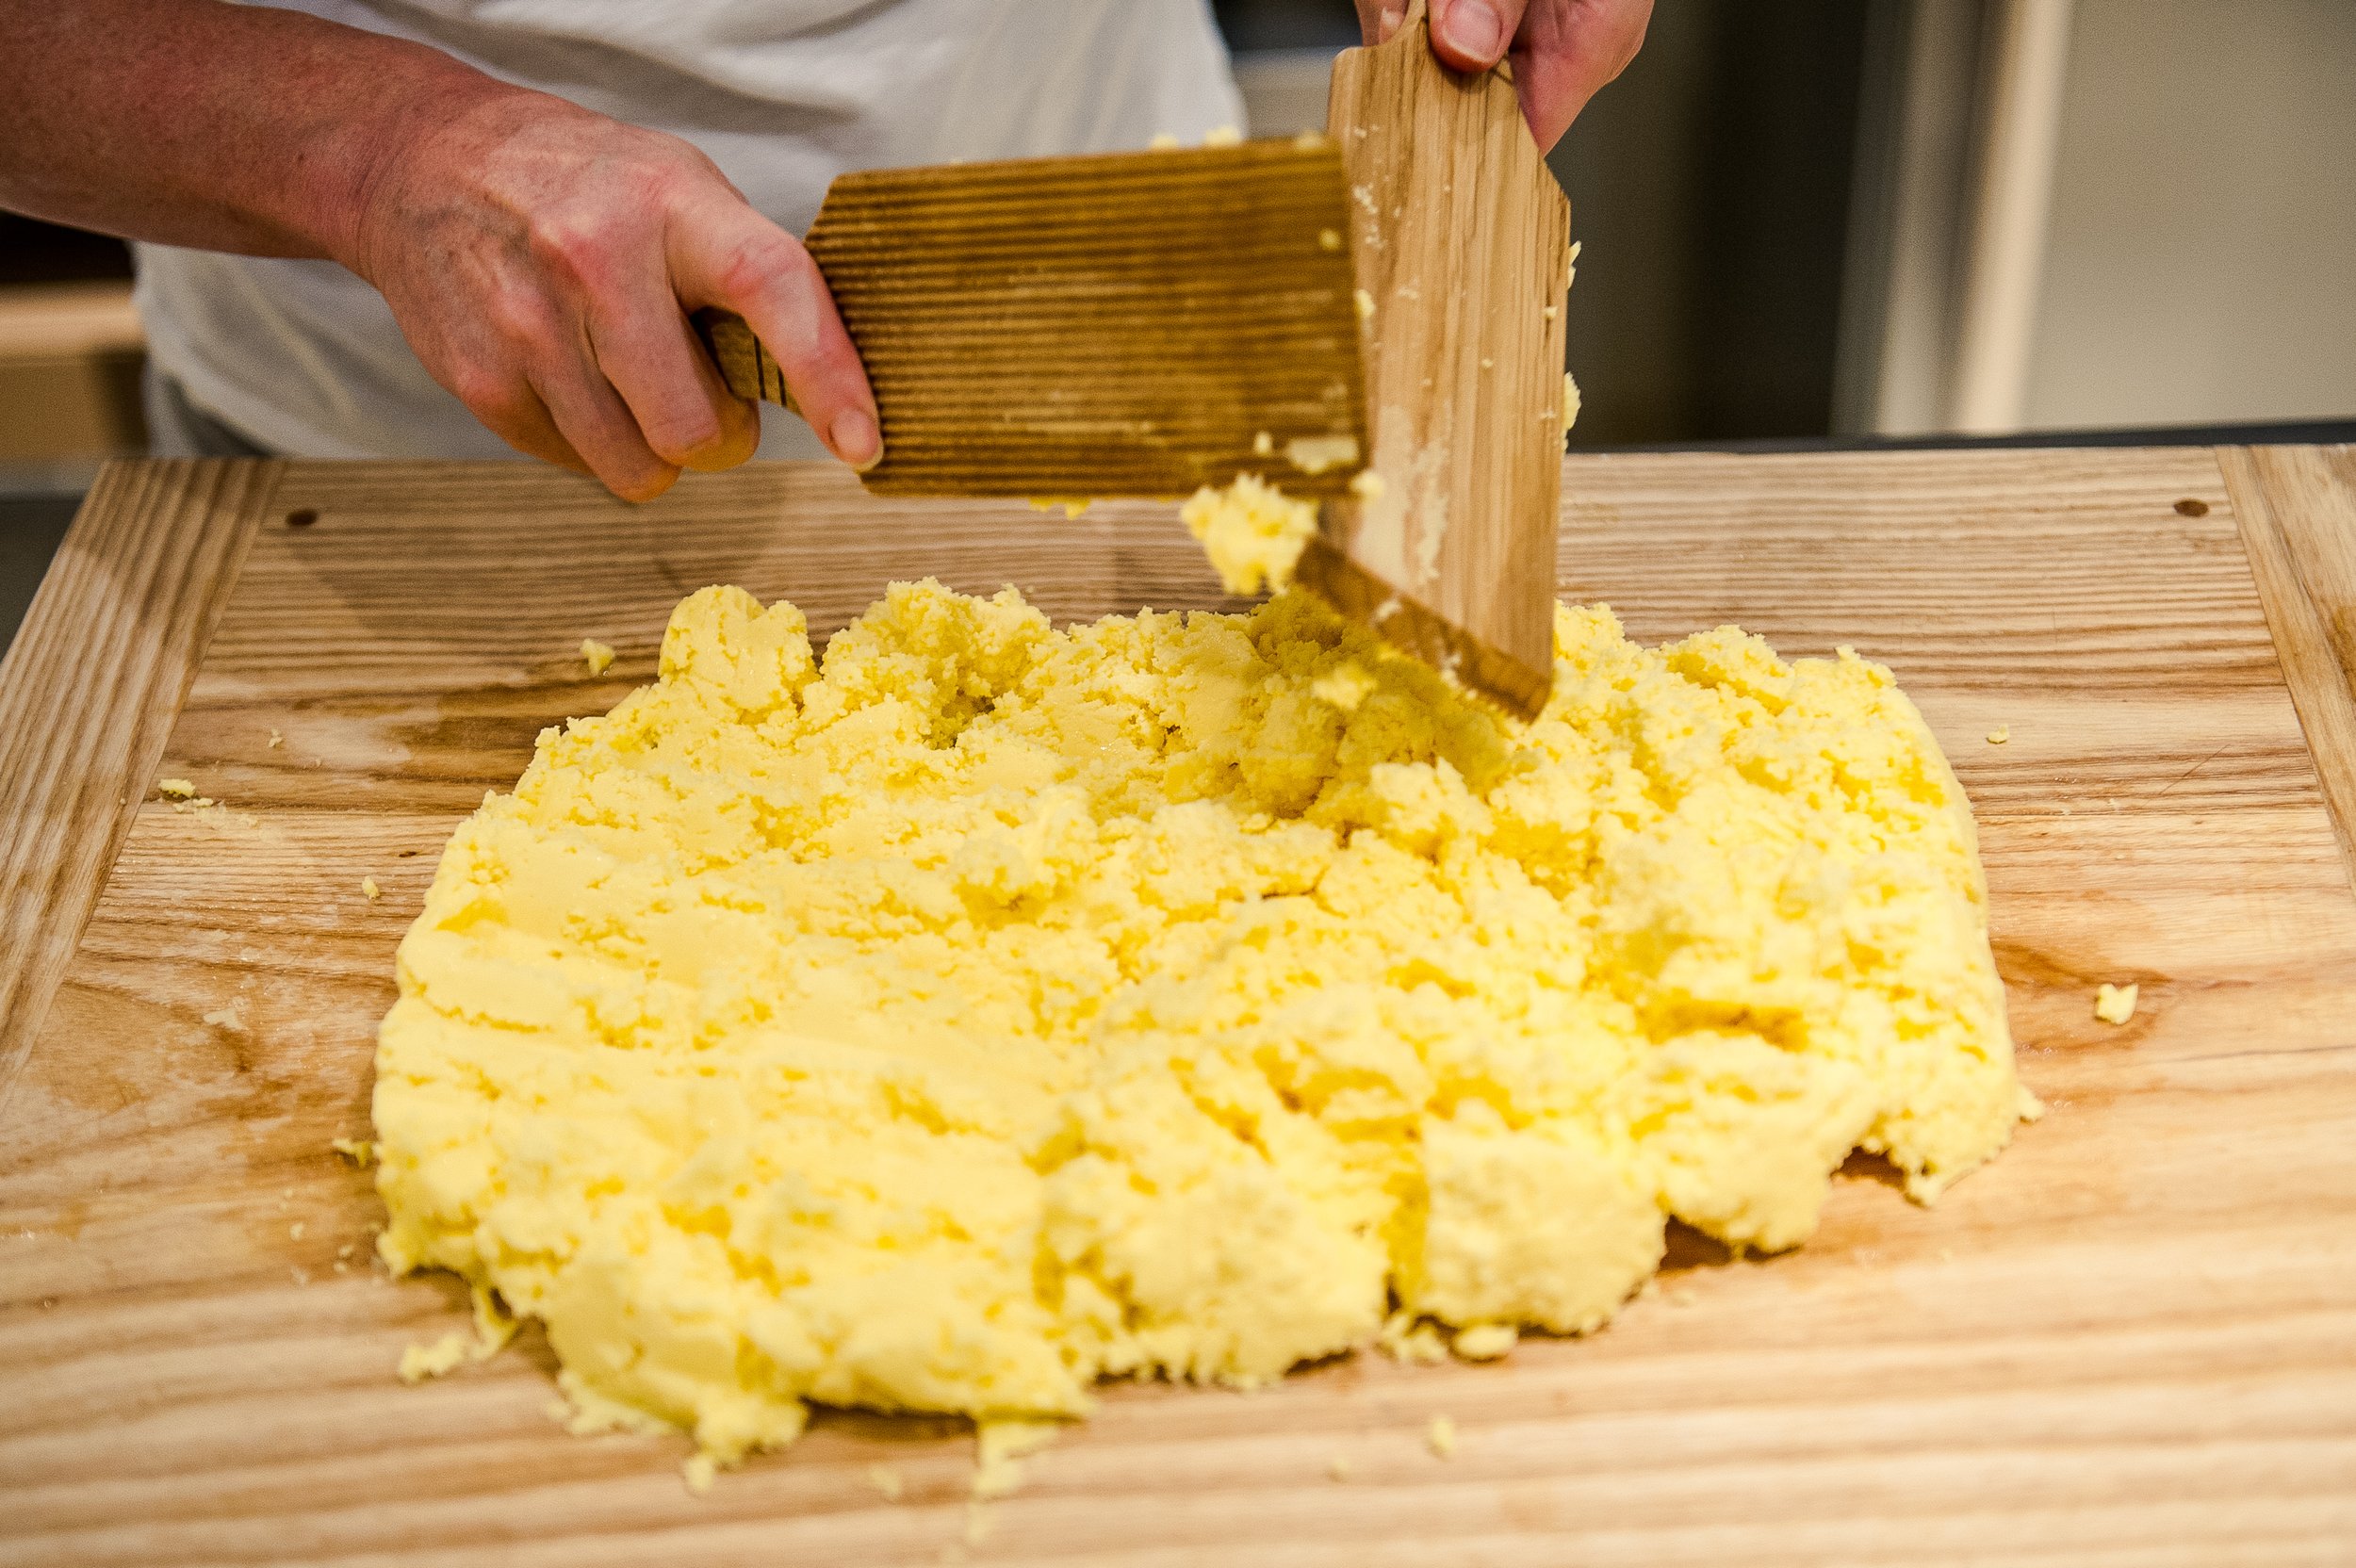
Working salt into the butter grains before shaping
Before the final rinse, add a little warm water to bring the rinse water up to around 10-12C. This will make the butter more malleable and easier to salt, pat and shape.
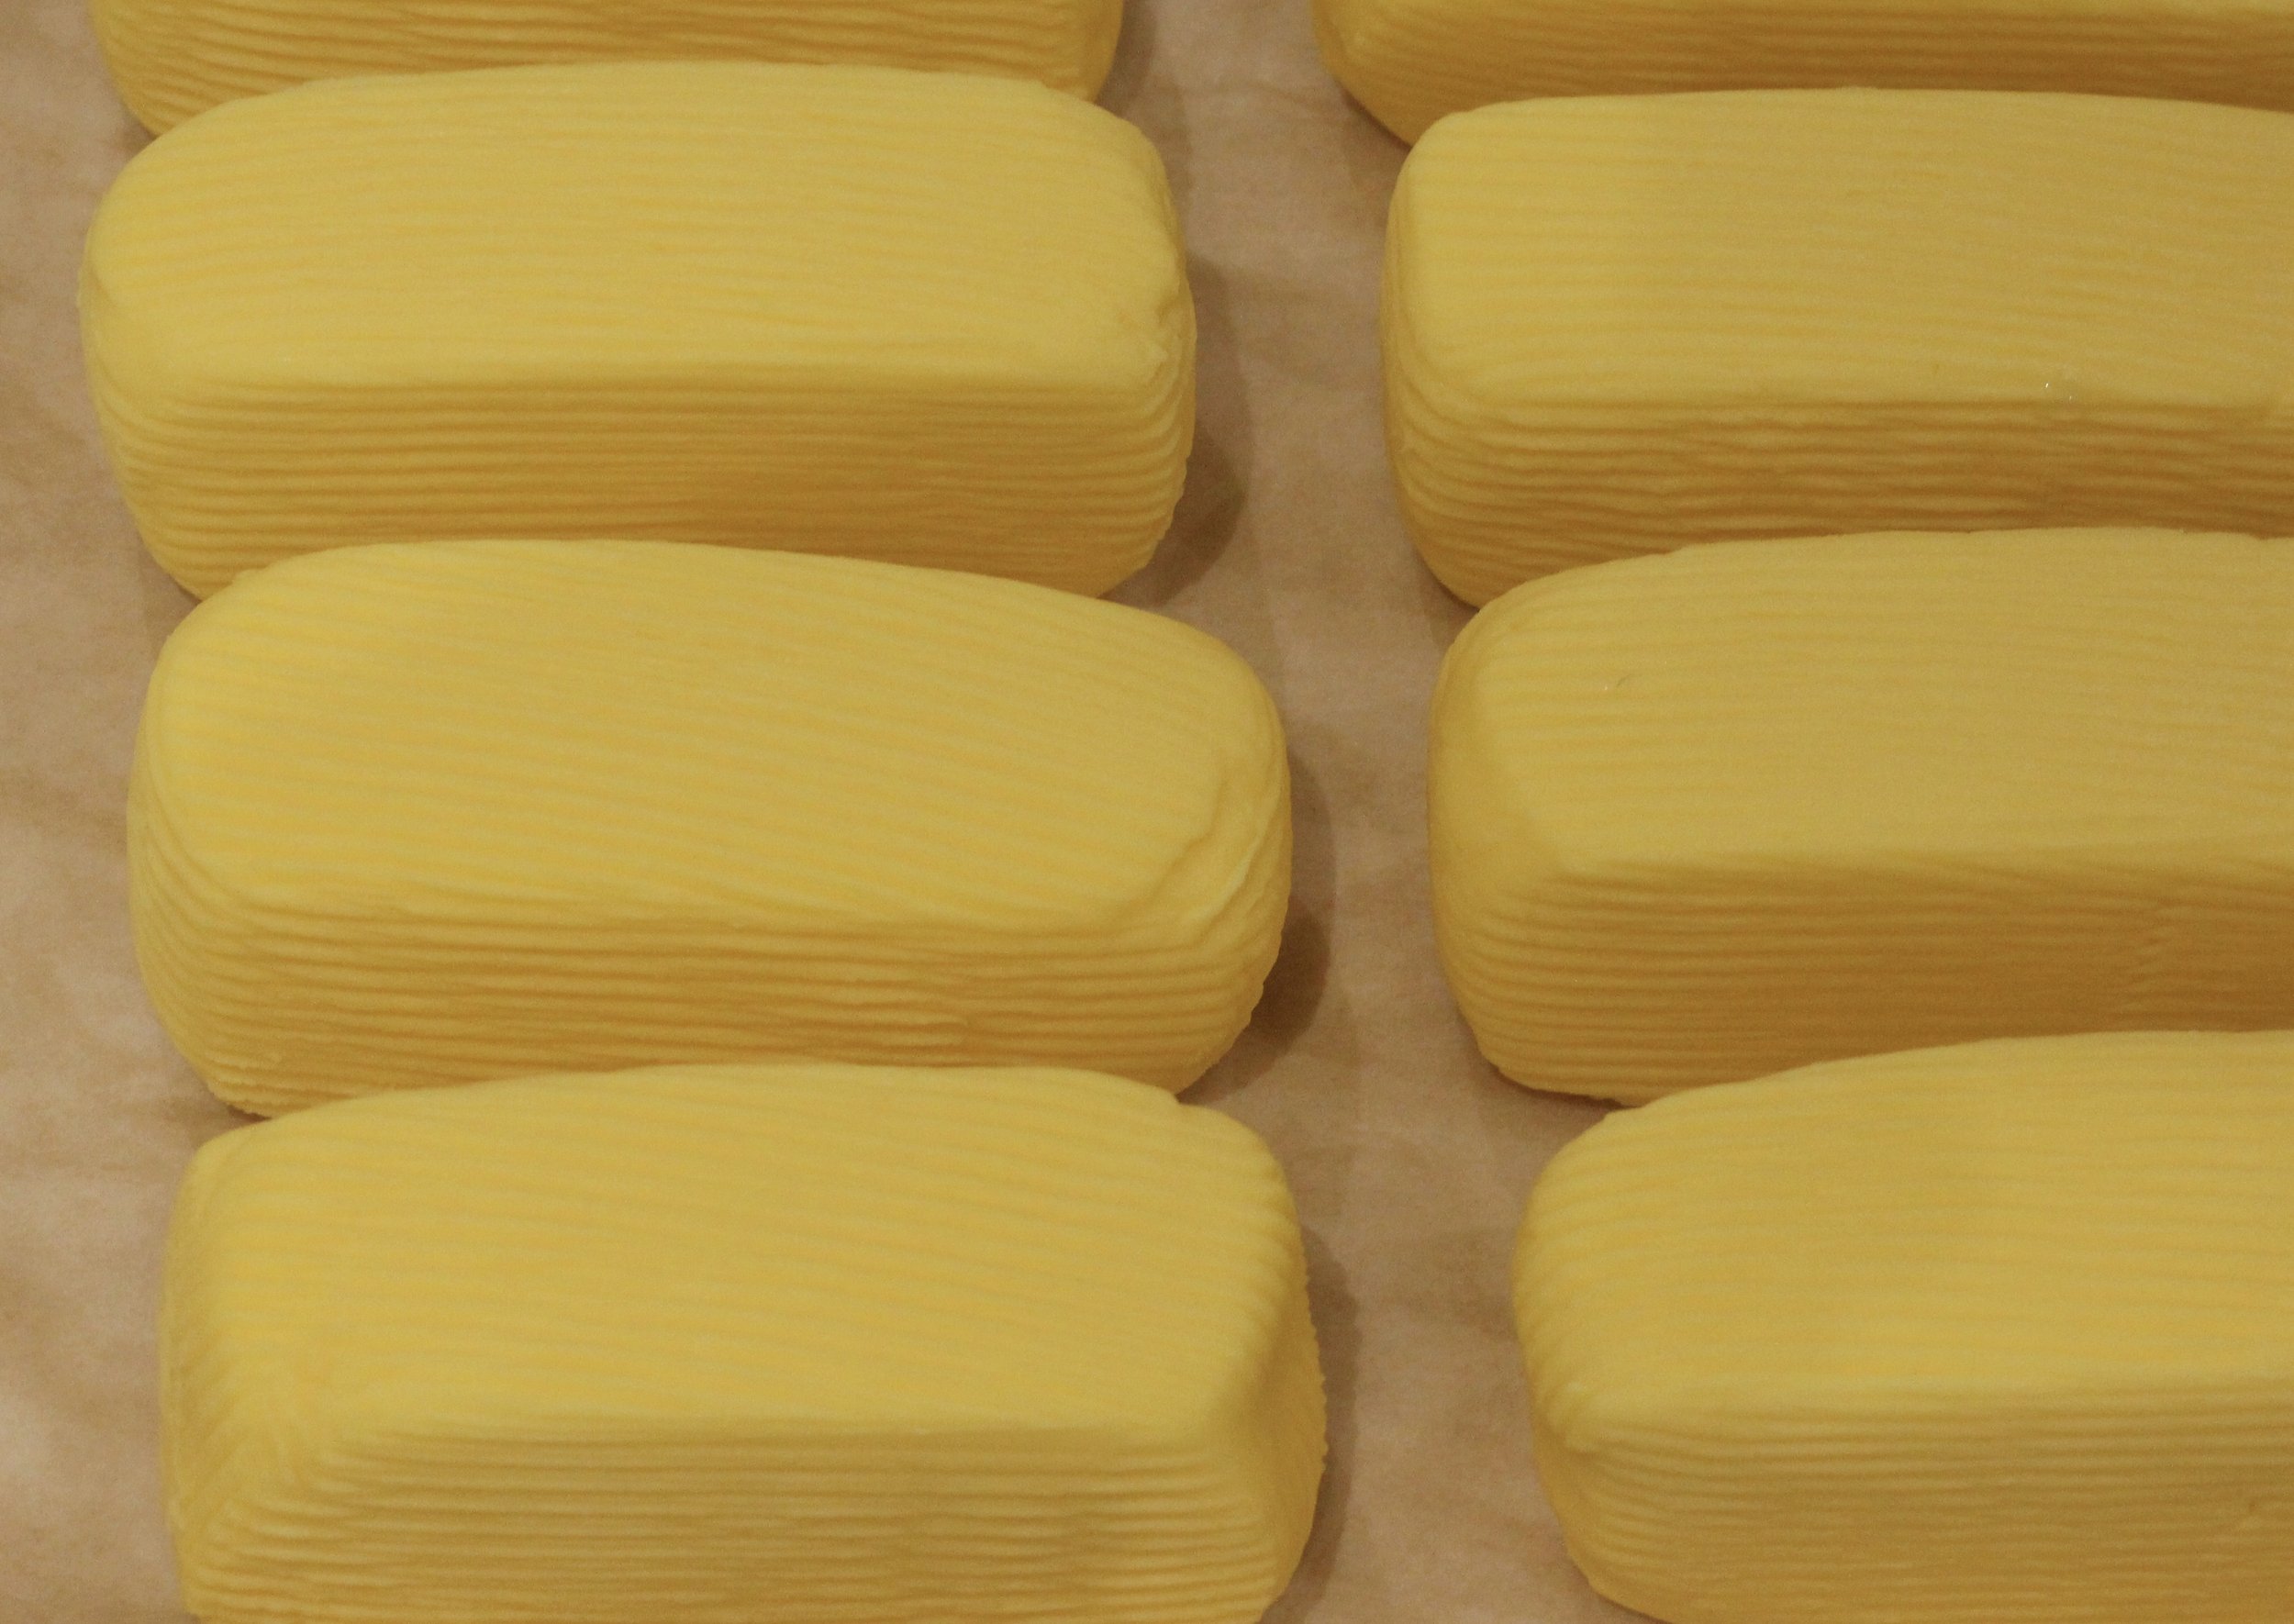
Blocks of butter ready for wrapping
Weigh and salt the butter to taste. Spreading the butter out on a large board and sprinkling the salt over before working it in with the butter pats or clean scrubbed hands. Dampen the butter pats with some cold sterile water, select a lump of butter and have fun patting out any remaining water and shaping as desired.
Wrap in butter paper or simple grease-proof paper, label and chill or freeze. Fresh butter should last a good three weeks in the fridge, or months in the freezer.
CULTURED BUTTER
Cultured butter can give a more consistent result and usually a more spreadable butter. Simply stir into the cream a mesophilic (warm-loving) cheese or crème-fraiche starter culture according to the quantity of cream being cultured, and leave for 24hrs at room temperature to ripen. Then make butter as above.
TROUBLESHOOTING
If the cream takes a long time to get to the grain stage, the cream had either not ripened enough (ie was too fresh) and/or was too cold.
If the butter goes rancid, the buttermilk was not rinsed out well enough.
If the butter has a ‘farmyard’ (ie a bit ‘cowy’) taste after only a few days, this is due to contamination, likely at the milking stage or from unsterilised butter-making equipment. Butter taste and longevity are great tests of hygiene!